
How the NewClick system works
NewClick is a hidden fixing system for composite facade cladding. The slats click onto horizontal aluminium rails with pre-mounted clips. No pre-drilling, no visible screws, no special tools.
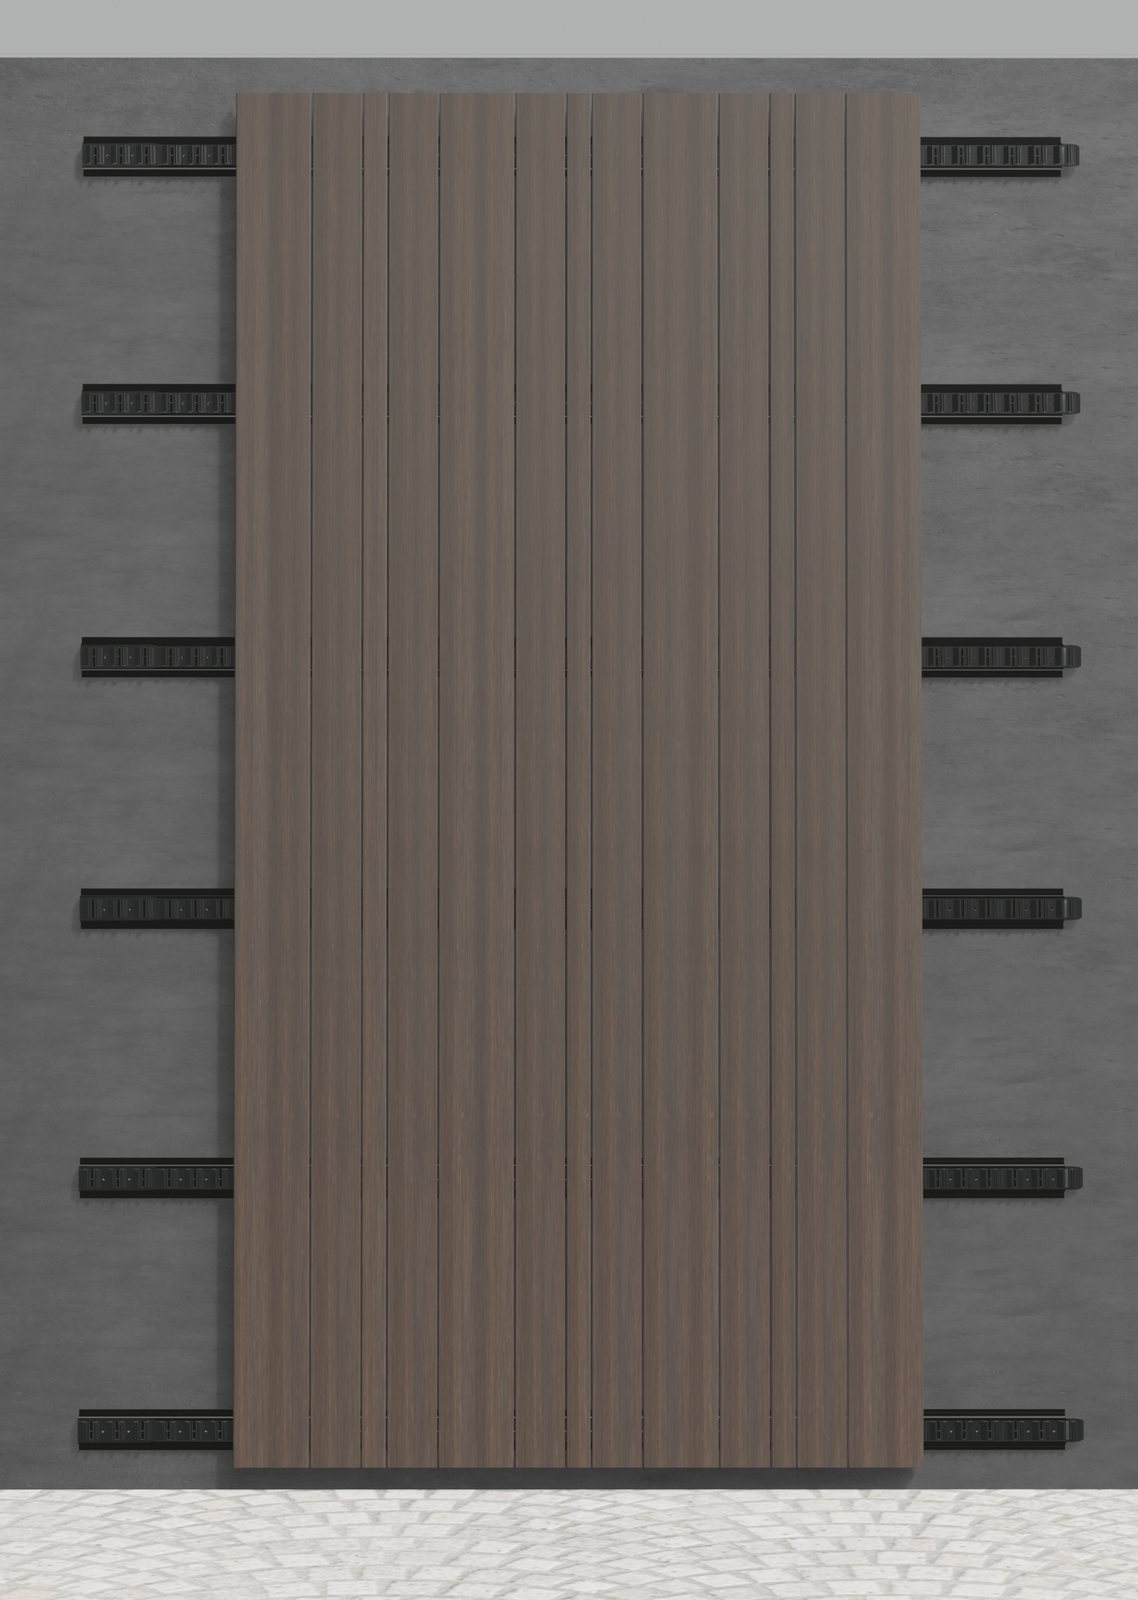
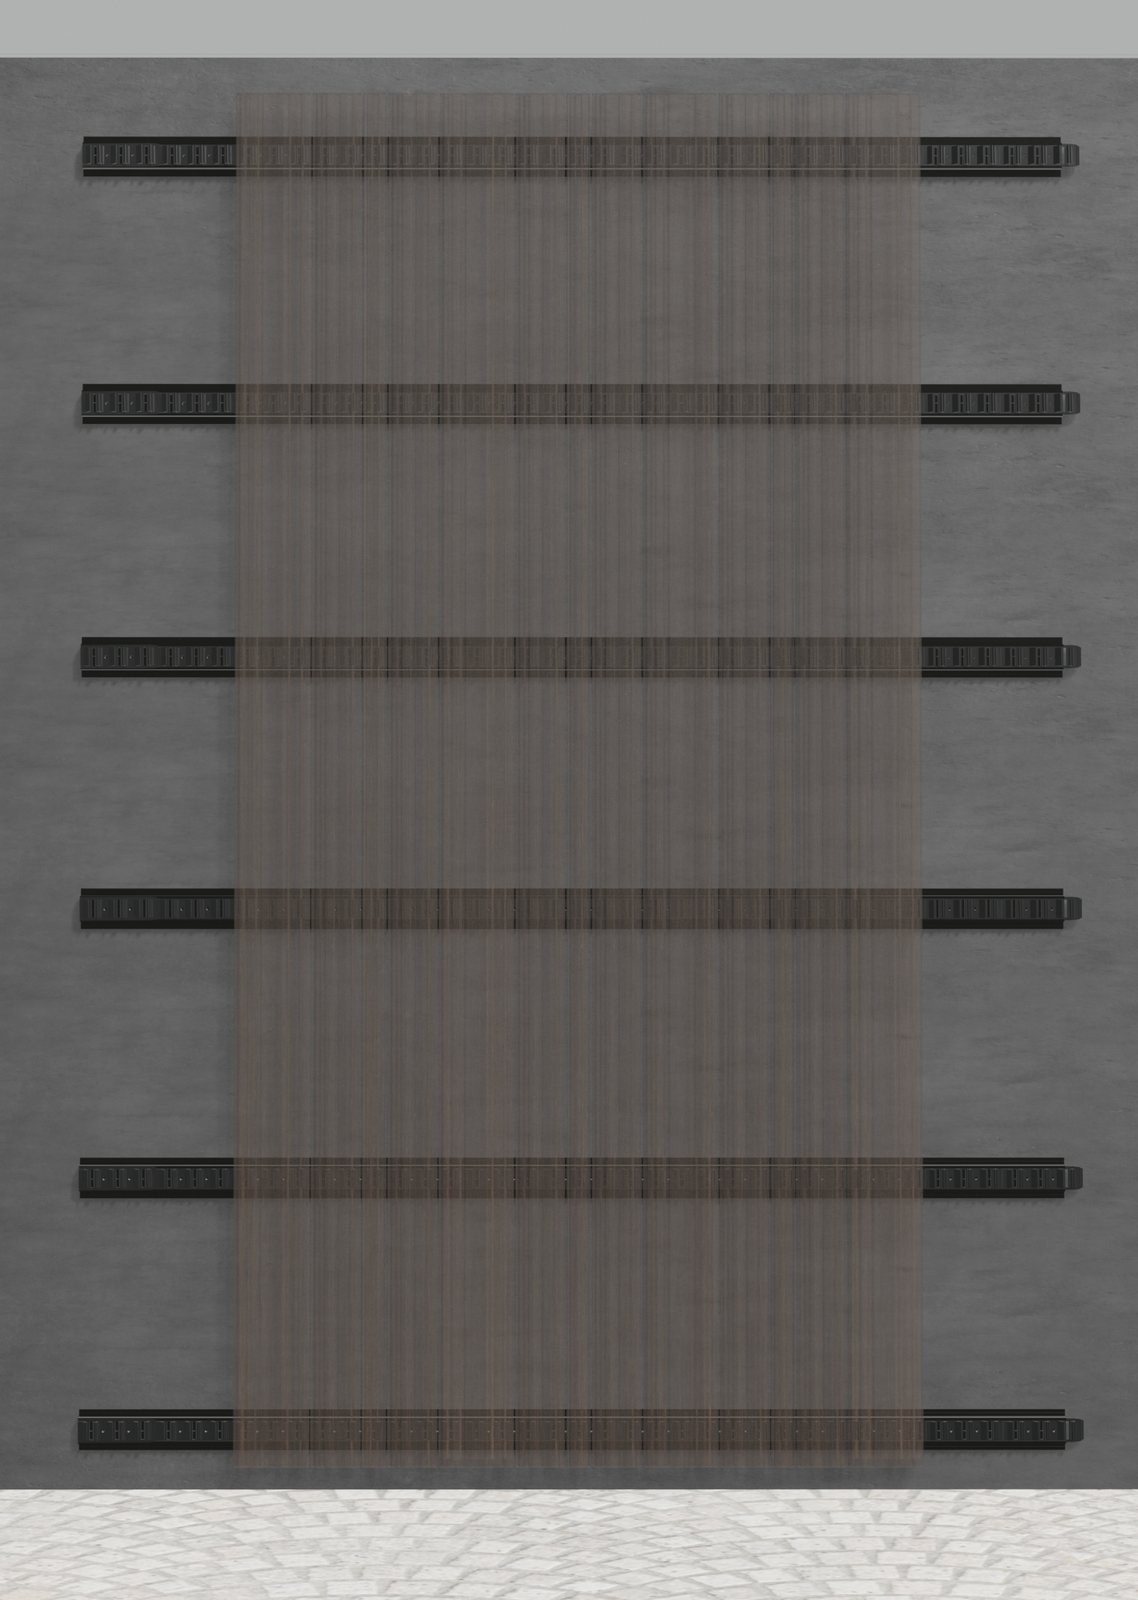
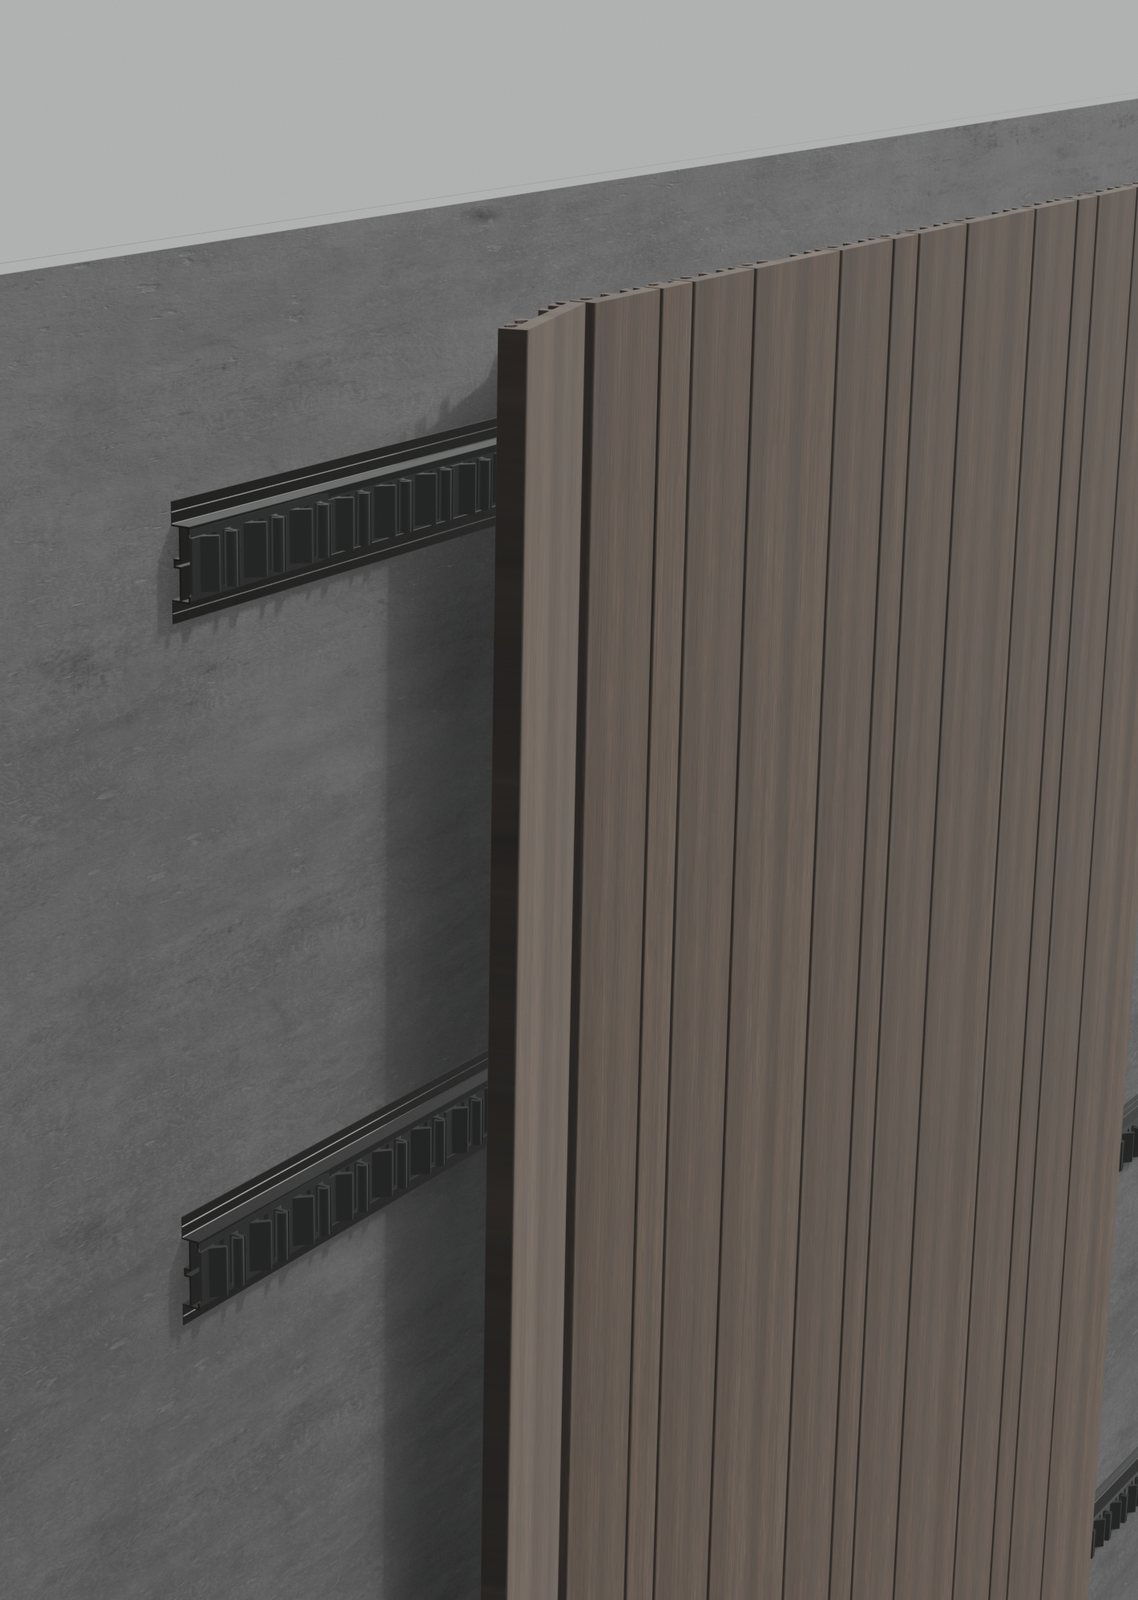
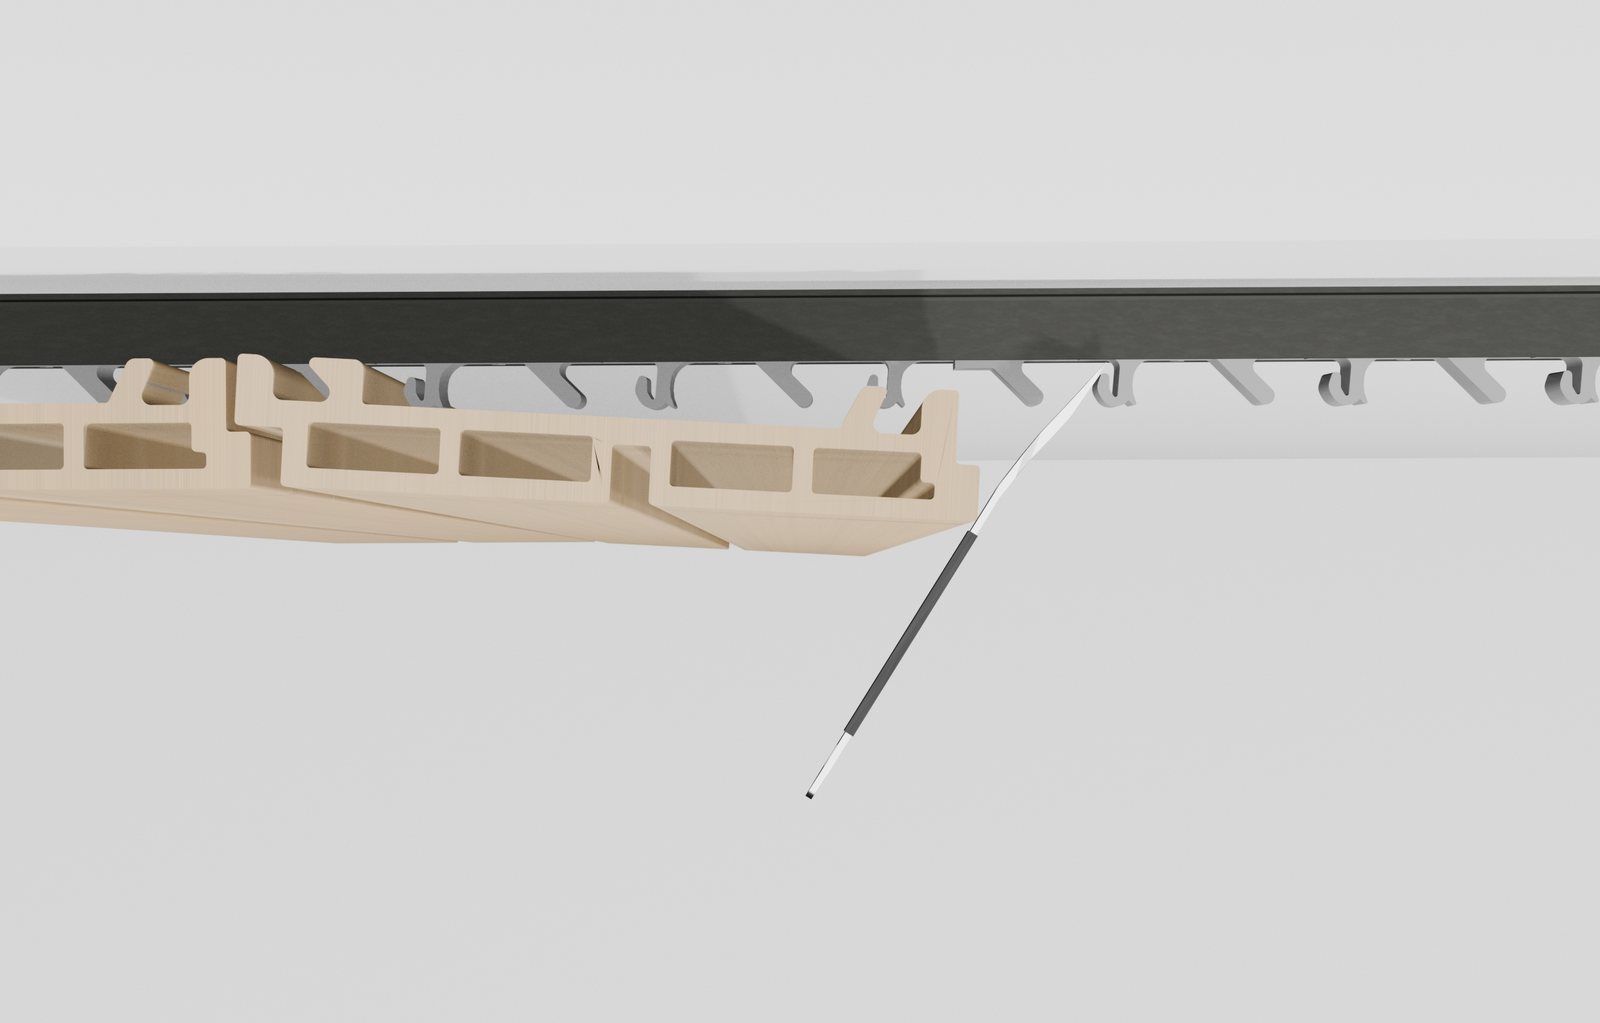
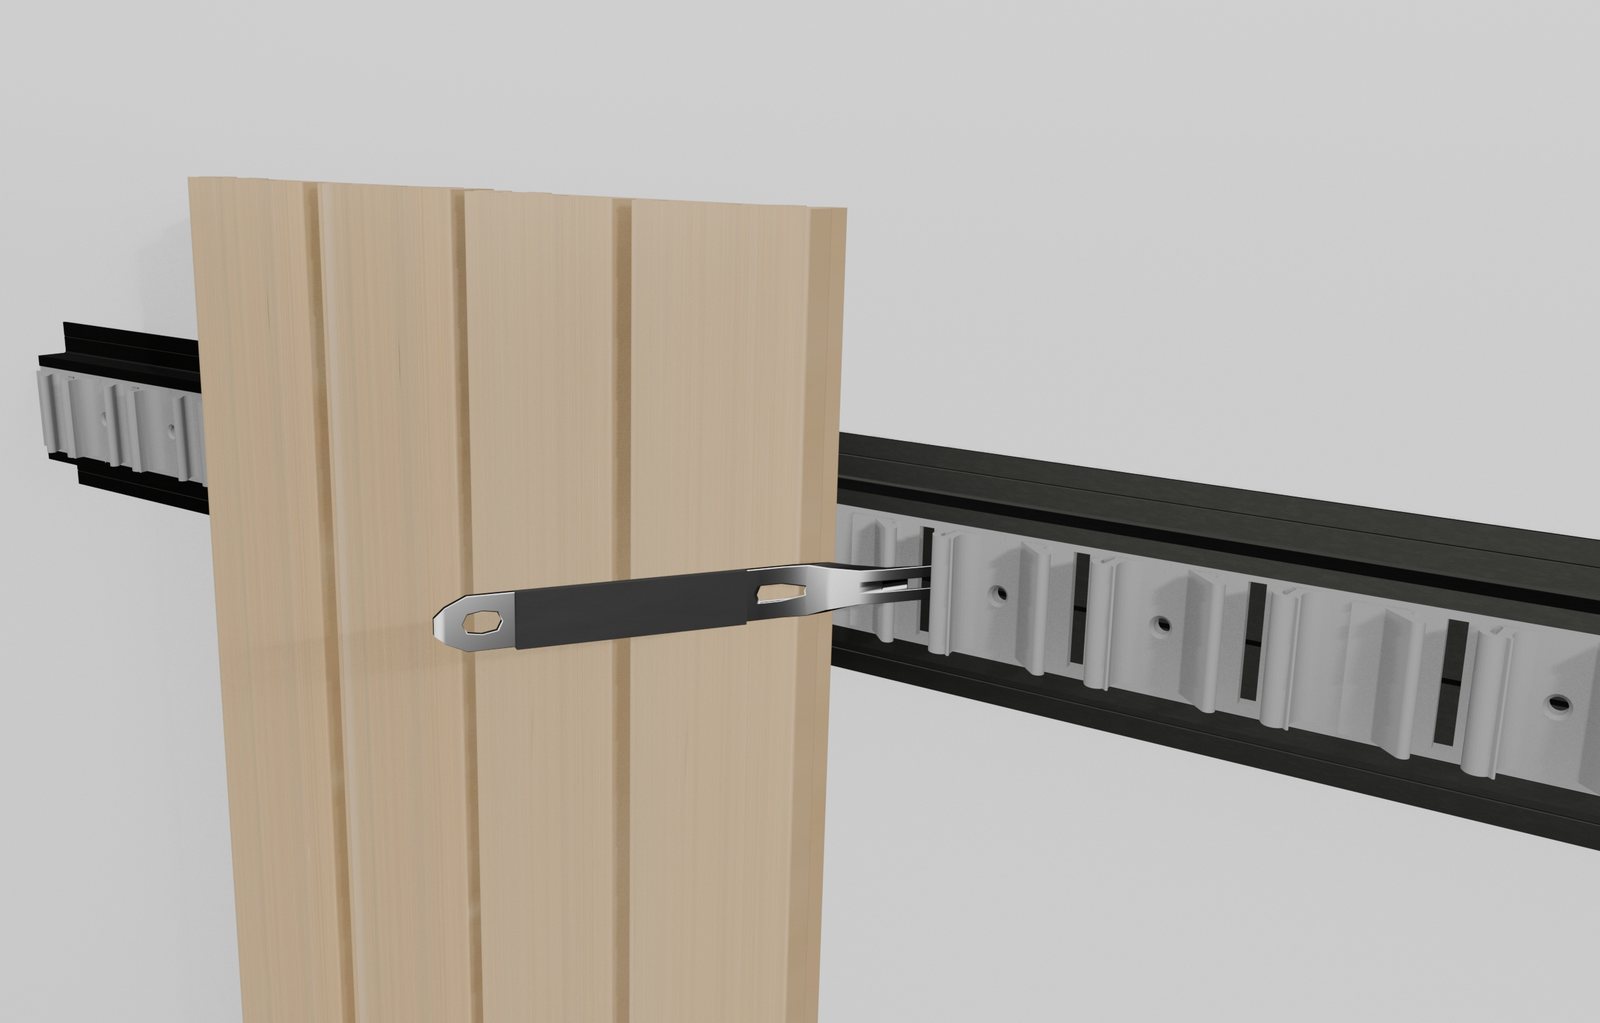
Three components, one system
Aluminium rail
15 mm aluminium profile, screwed horizontally onto the substructure. Clips are pre-mounted in the rail at fixed centres, so the rail sets the spacing, not the slat.
Composite slat
Co-extruded wood-plastic composite, 2900 mm long. Tilt it against the clip, rotate, and it clicks on in one movement.
Stainless steel stopper
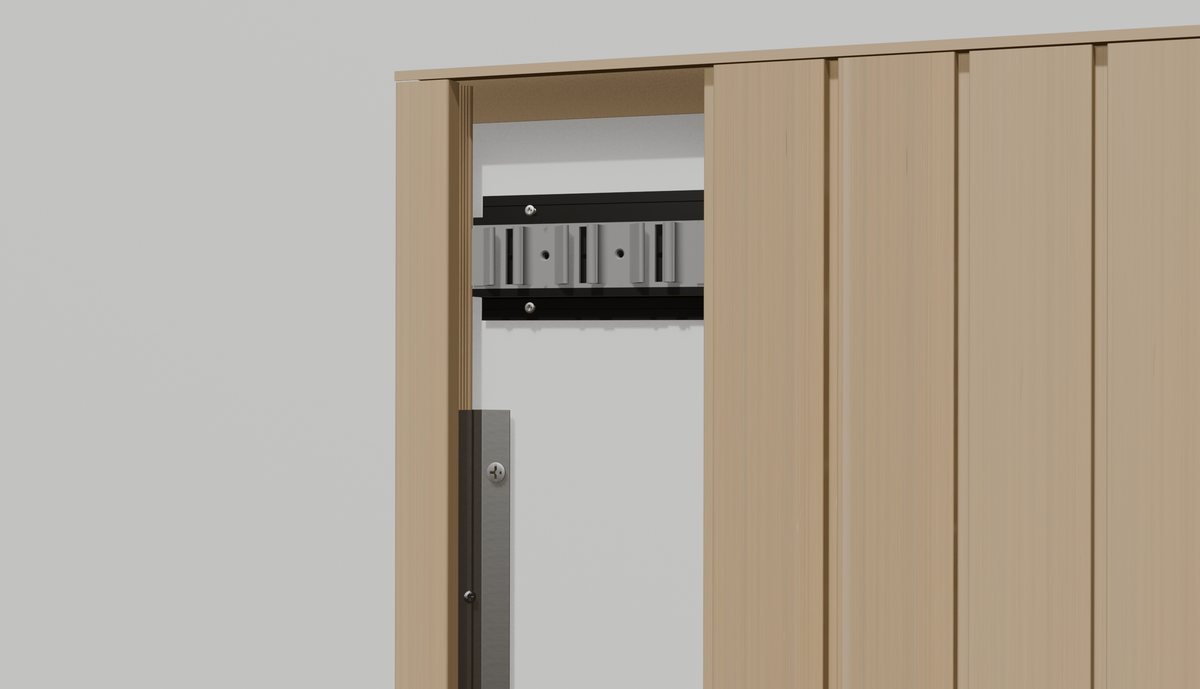
Locks the slats in place on the rail. At least one stopper per slat, spread over two or three rails, so nothing can slide.
Installation in four steps
One installer, standard tools, from bottom to top. The manual covers the details that matter for the warranty: ground clearance, end caps, stoppers and expansion room.
- Installation manual (PDF, EN)Installation manual (PDF, EN): on requestPDF
- Watch the installation videoInstallation video: on requestVideo
Missing a document? Contact us.
Start flat on the ground
Lay the first panel flat and click all rails into it one by one. The rail spacing is then exact before anything touches the wall. Maximum rail centres: 548 mm.
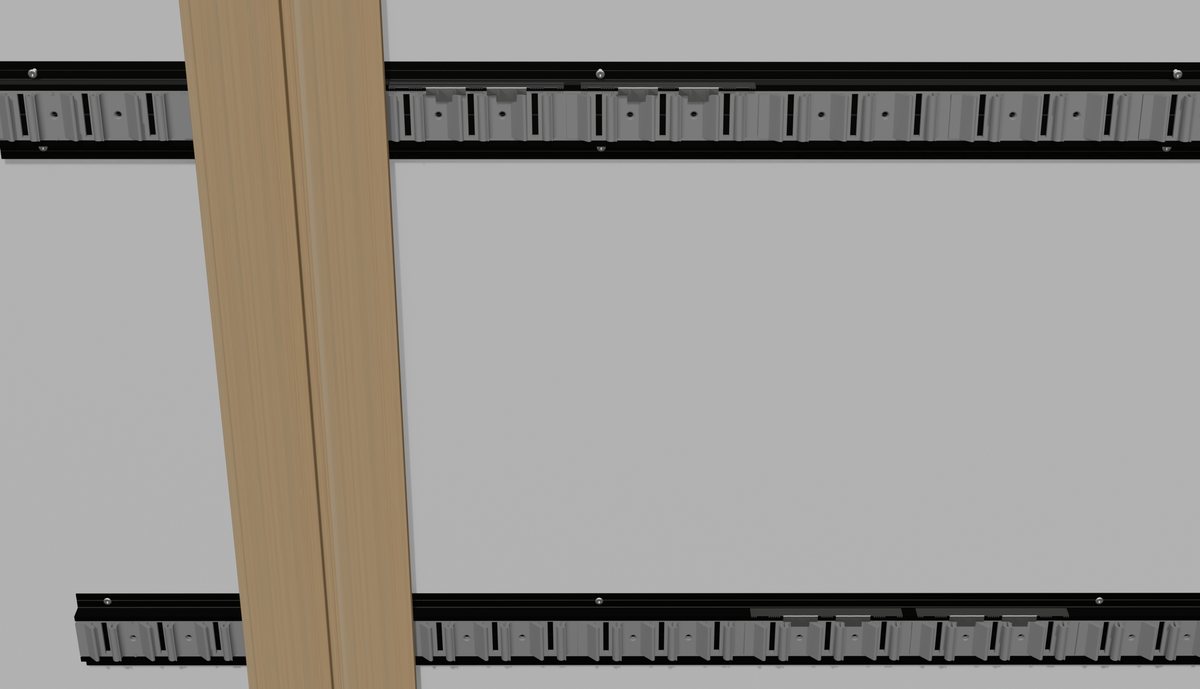
Place the stopper, tilt it up
Fit at least one stainless steel stopper per panel, spread over the three middle rails. Then tilt the prepared panel with its rails up against the wall in one movement.
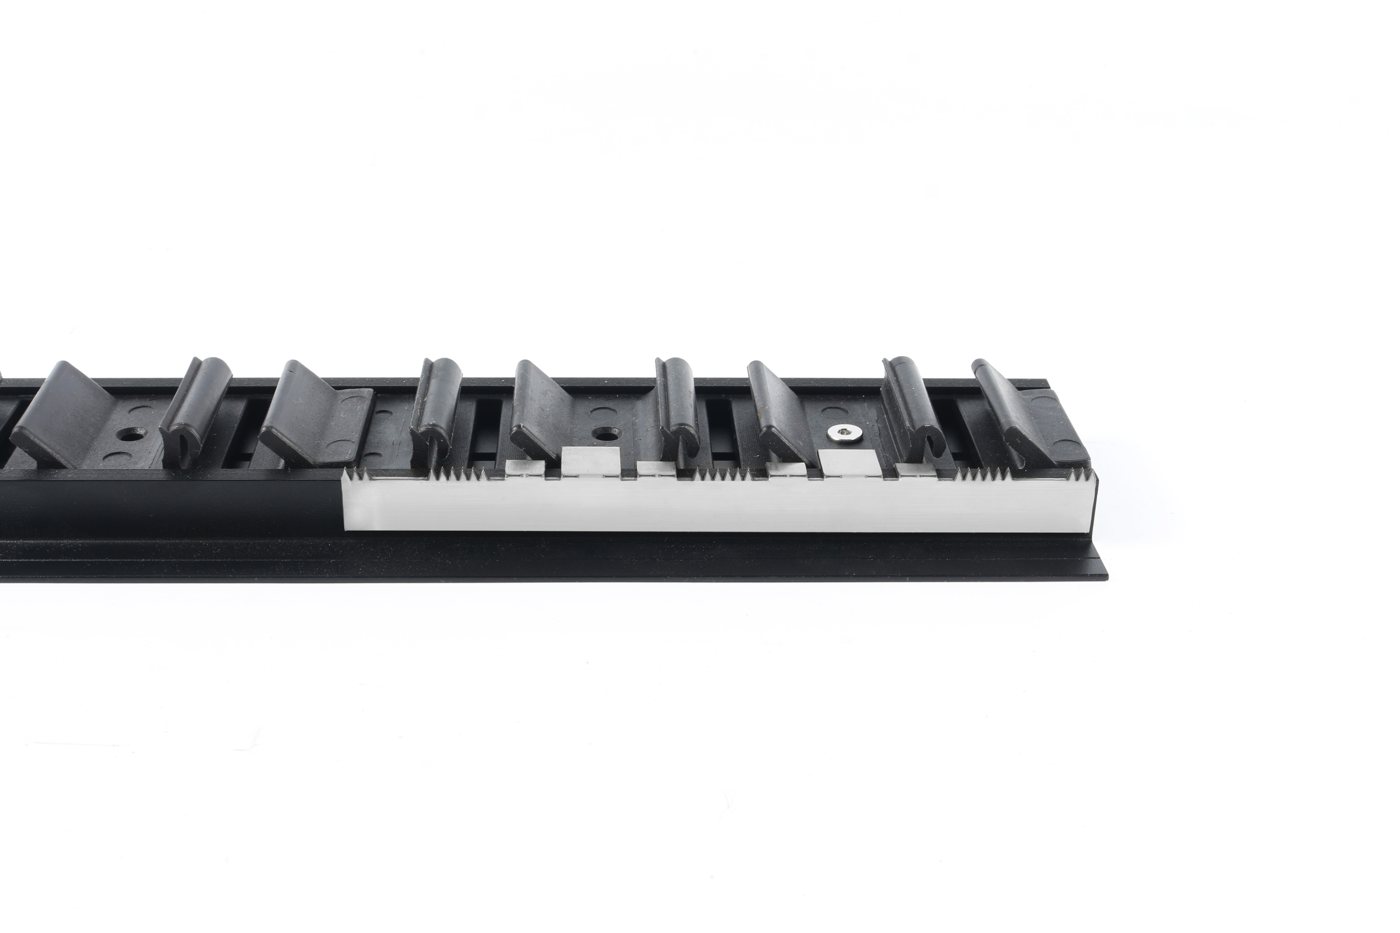
Level, then screw the rails
A support beam of at least 30 mm sets every panel at the same height and keeps the 30 to 50 mm ground clearance. Screw the rails only when they are level and plumb.
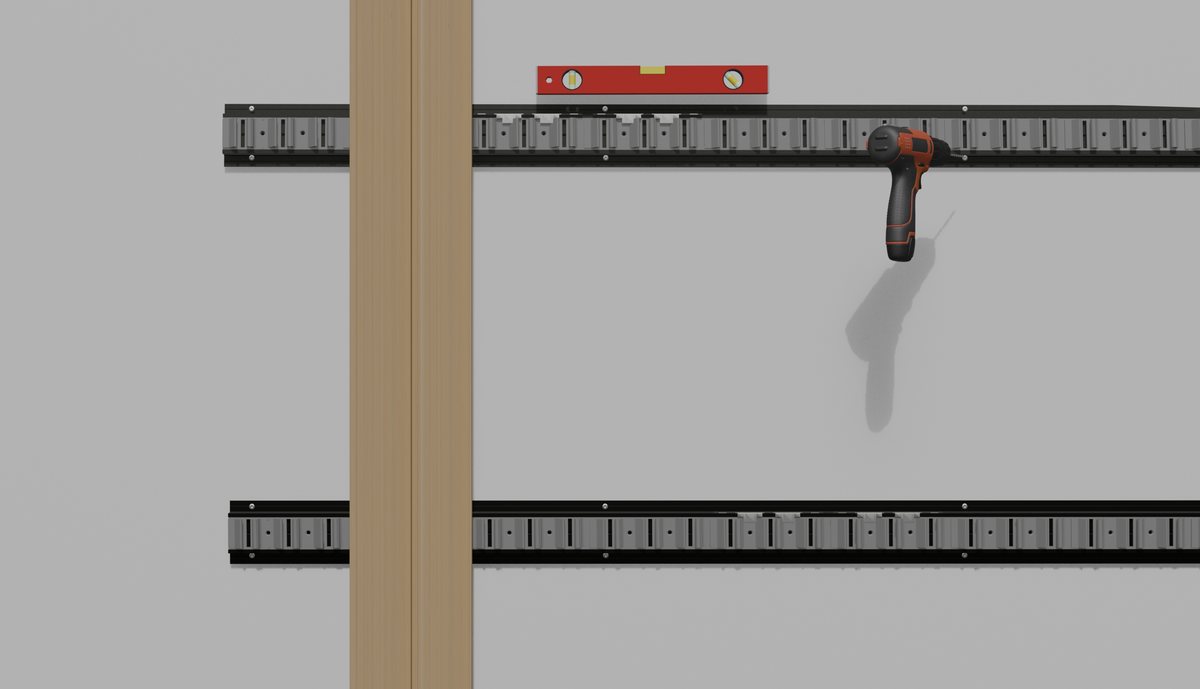
Click on the next panels
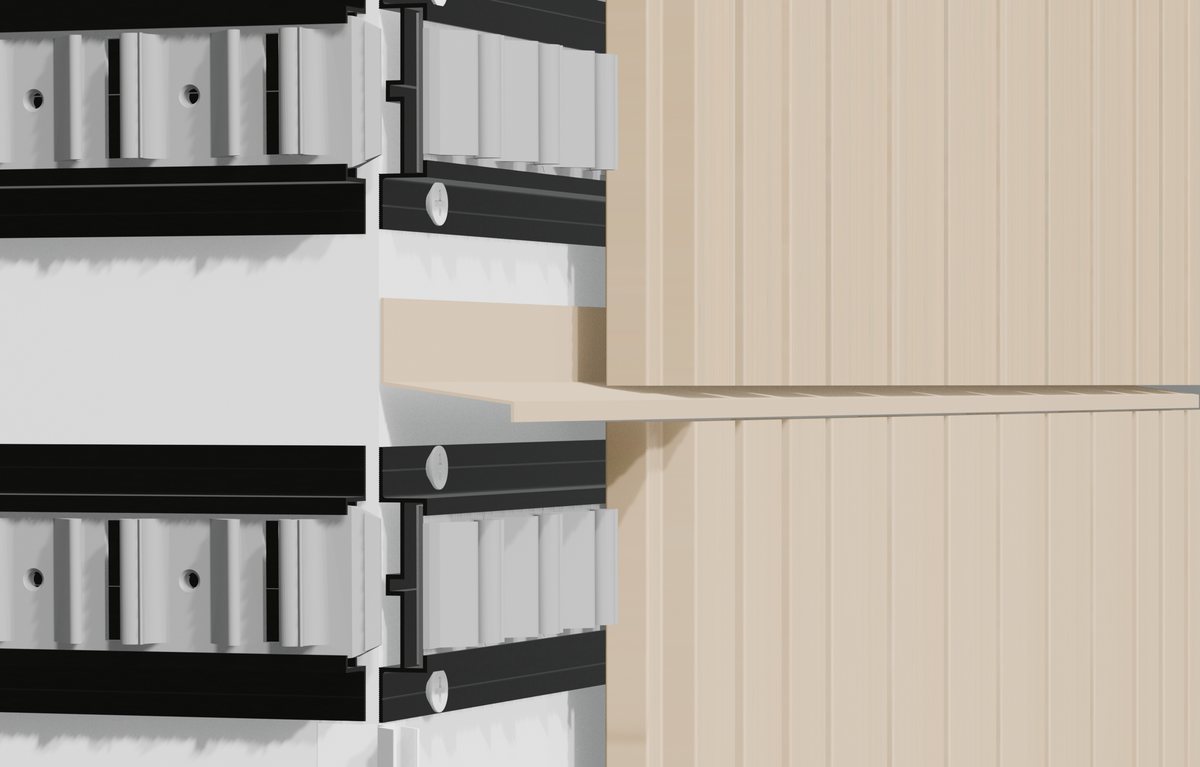
Set each panel against the clips and lever it home with the mounting tool or a rubber mallet. Slide the next rail section into the previous one and keep going. Finish with the aluminium start, end and corner profiles.
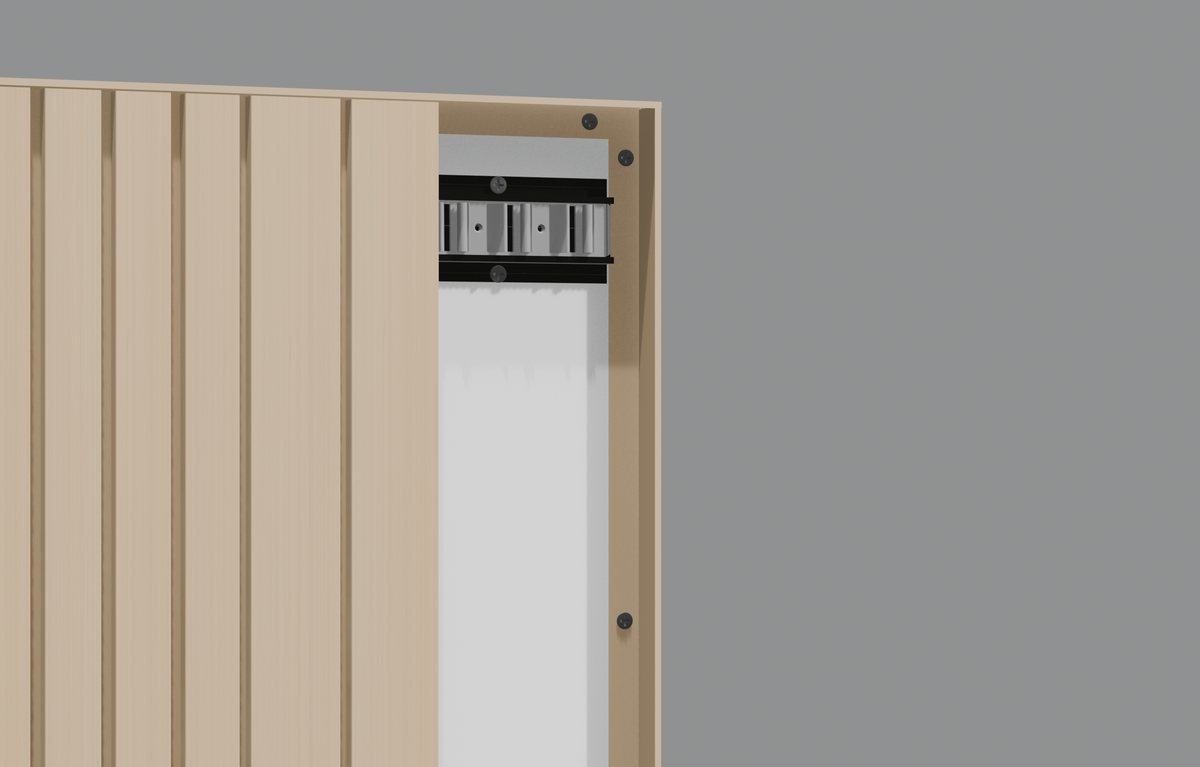
Openings, corners and gables
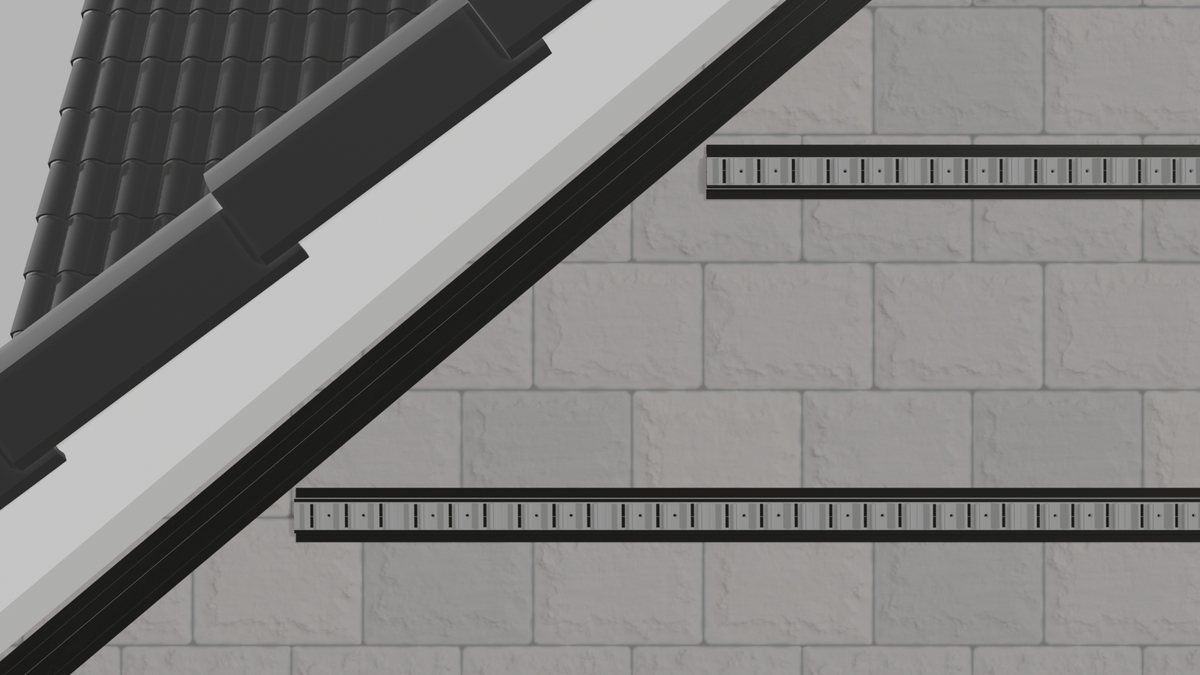
One finishing family covers every situation: window and door openings, outside corners, and sloped gable edges.
Technical specifications
Figures per profile are on the Products page. Rows marked "on request" are confirmed on the datasheet.
| Slat material | Wood-plastic composite with co-extruded protective cap |
|---|---|
| Rail | Aluminium, 15 mm, horizontal, clips pre-mounted |
| Stopper | Stainless steel, minimum 1 per slat |
| Slat length | 2900 mm |
| Total system build-up | 37 mm (Barcode) to 41.6 mm (Rhombus), excluding substructure |
| Weight | On request |
| Fire class | On request |
| Thermal expansion | On request |
| Rail centres | Maximum 548 mm |
| Ground clearance | 30 to 50 mm, on a support beam of at least 30 mm |
| Mounting direction | Vertical standard; horizontal possible when every clip is screwed |
| Warranty | 15 years |
Why click beats screw mounting
| NewClick click system | Screw-mounted cladding | |
|---|---|---|
| Fasteners in view | None. Cleaner facade. | A screw head on every slat |
| Pre-drilling | Not needed | Every slat |
| Installers | One person | Two, one to hold the slat |
| Speed | About twice as fast | Standard |
| Weak spots | No holes in the slat, no water ingress points | Screw holes in every slat |
| Replacing a slat | Unclick the one slat | Unscrew a large part of the facade |
| Straightness | Rail sets the centres; tolerances do not stack | Each slat adds its own tolerance |